安装
使用npm安装
npm install braft-editor --save
使用yarn安装
yarn add braft-editor
使用示例
import React from 'react'
// 引入编辑器组件
import BraftEditor from 'braft-editor'
// 引入编辑器样式
import 'braft-editor/dist/index.css'


import React,{PureComponent,Fragment} from 'react';
import router from 'umi/router';
import {
  Modal,
  Button,
  Input,
  Form,
  Card,
  Row,
  Col,
} from 'antd';
import {connect} from 'dva';

const {confirm}=Modal;
const FormItem=Form.Item;
const {TextArea} =Input;
@Form.create()
@connect(({loading,newsModel,basicdata,global})=>({
  global,
  basicdata,
  loading,
  newsModel,
}))
class ChangeNews extends PureComponent{
  constructor(props){
    super(props);
    this.state={

    };
  };

  componentDidMount() {

  }


  render(){

    return(
      <PageHeaderWrapper title=''>
        <>
          <Card bordered={false}>
            <Row>
              <Col>
                <FormItem {...entireLine} label="">
                  {getFieldDecorator('newsContext', {
                    initialValue: BraftEditor.createEditorState(newsDetail.newsContext||html),
                    rules: [{
                      required: true,
                      message: '新闻内容必填!',
                      whitespace: true,
                    }],
                  })(
                    <BraftEditor controls={controls} placeholder='请输入新闻内容' />
                  )}
                </FormItem>
              </Col>
            </Row>
          </Card>
      </PageHeaderWrapper>
    )
  }
}
export default ChangeNews;
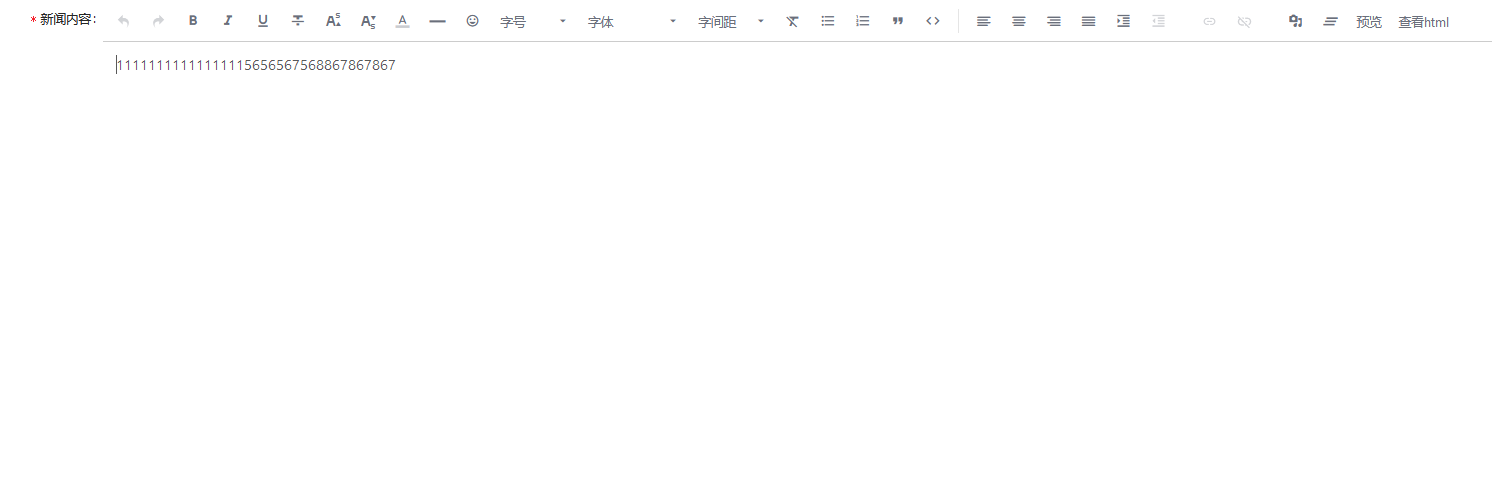
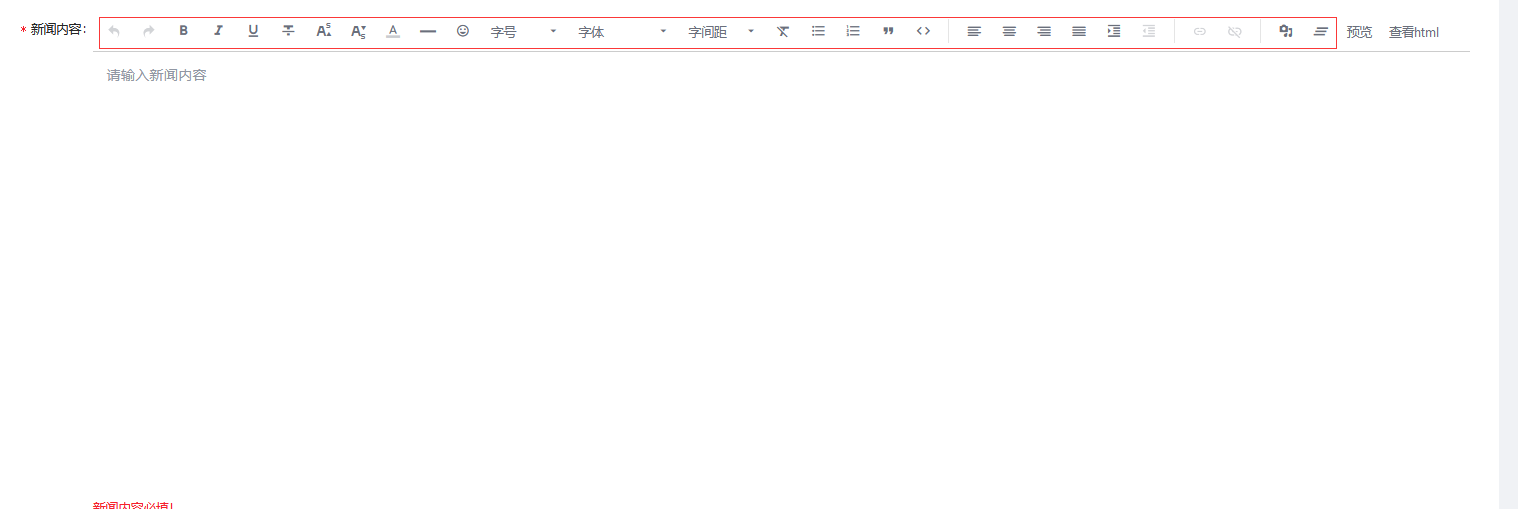
- 指定控制栏组件(controls)
[
  'undo', 'redo', 'split', 'font-size', 'font-family', 'line-height', 'letter-spacing',
  'indent','text-color', 'bold', 'italic', 'underline', 'strike-through',
  'superscript', 'subscript', 'remove-styles', 'emoji', 'text-align', 'split', 'headings', 'list_ul',
  'list_ol', 'blockquote', 'code', 'split', 'link', 'split', 'hr', 'split', 'media', 'clear'
]
<BraftEditor controls={controls} placeholder='请输入新闻内容' />
效果展示
- 上传图片到服务器(media.uploadFn)
uploadFn的实现规则很简单,通过param.file获取到要上传的文件,然后使用XMLHttpRequest或者你常用的网络请求库将文件上传到服务器,将服务器返回的文件url通过param.success函数回传给编辑器即可;如果能监控到文件上传进度,也可以通过param.progress函数将上传进度告知编辑器,编辑器会友好的以进度条的形式展示出来;如果上传出现问题,则需要通过param.error函数告知编辑器。

实例
const myUploadFn = (param) => {

  const serverURL = 'http://upload-server'
  const xhr = new XMLHttpRequest
  const fd = new FormData()

  const successFn = (response) => {
    // 假设服务端直接返回文件上传后的地址
    // 上传成功后调用param.success并传入上传后的文件地址
    param.success({
      url: xhr.responseText,// API返回的图片路径
      meta: {
        id: 'xxx',
        title: 'xxx',
        alt: 'xxx',
        loop: true, // 指定音视频是否循环播放
        autoPlay: true, // 指定音视频是否自动播放
        controls: true, // 指定音视频是否显示控制栏
        poster: 'http://xxx/xx.png', // 指定视频播放器的封面
      }
    })
  }

  const progressFn = (event) => {
    // 上传进度发生变化时调用param.progress
    param.progress(event.loaded / event.total * 100)
  }

  const errorFn = (response) => {
    // 上传发生错误时调用param.error
    param.error({
      msg: 'unable to upload.'
    })
  }

  xhr.upload.addEventListener("progress", progressFn, false)
  xhr.addEventListener("load", successFn, false)
  xhr.addEventListener("error", errorFn, false)
  xhr.addEventListener("abort", errorFn, false)

  fd.append('file', param.file)
  xhr.open('POST', serverURL, true)
  xhr.send(fd)

}

- 自定义控件
指定自定义的控件,目前支持button、dropdown、modal和component这四种类型
 const extendControls = [
      {
        key: 'custom-button',
        type: 'button',
        text: '预览',
        onClick: this.preview
      },
      {
        key: 'code-button',
        type: 'button',
        text: '查看html',
        onClick: this.HTMLCode
      }
    ]
<BraftEditor extendControls={extendControls} placeholder='请输入新闻内容' />
预览
功能要点
- 使用extendControls属性添加扩展按钮
- 使用editorState.toHTML()实时获取html
- 使用window.open在新窗口展示html
创建控件
 render () {
    const extendControls = [
      {
        key: 'custom-button',
        type: 'button',
        text: '预览',
        onClick: this.preview
      }
    ]

    return (
      <div className="editor-wrapper">
        <BraftEditor
          onChange={this.handleChange}
          extendControls={extendControls}
        />
      </div>
    )

  }
初始化editorState,编辑器修改触发handleChange,从而setState 修改 editorState
 state = {
    editorState: BraftEditor.createEditorState()
  }

   handleChange = (editorState) => {
      this.setState({ editorState })
    }
点击控件触发函数,打卡预览窗口,获取html页面
  preview = () => {

    if (window.previewWindow) {// 判断是否打开过预览窗口
      window.previewWindow.close()
    }

    window.previewWindow = window.open()
    window.previewWindow.document.write(this.buildPreviewHtml())
    window.previewWindow.document.close()

  }

  buildPreviewHtml () {

    return `
      <!Doctype html>
      <html>
        <head>
          <title>Preview Content</title>
          <style>
            html,body{
              height: 100%;
              margin: 0;
              padding: 0;
              overflow: auto;
              background-color: #f1f2f3;
            }
            .container{
              box-sizing: border-box;
              width: 1000px;
              max-width: 100%;
              min-height: 100%;
              margin: 0 auto;
              padding: 30px 20px;
              overflow: hidden;
              background-color: #fff;
              border-right: solid 1px #eee;
              border-left: solid 1px #eee;
            }
            .container img,
            .container audio,
            .container video{
              max-width: 100%;
              height: auto;
            }
            .container p{
              white-space: pre-wrap;
              min-height: 1em;
            }
            .container pre{
              padding: 15px;
              background-color: #f1f1f1;
              border-radius: 5px;
            }
            .container blockquote{
              margin: 0;
              padding: 15px;
              background-color: #f1f1f1;
              border-left: 3px solid #d1d1d1;
            }
          </style>
        </head>
        <body>
          <div class="container">${this.state.editorState.toHTML()}</div>
        </body>
      </html>
    `

  }
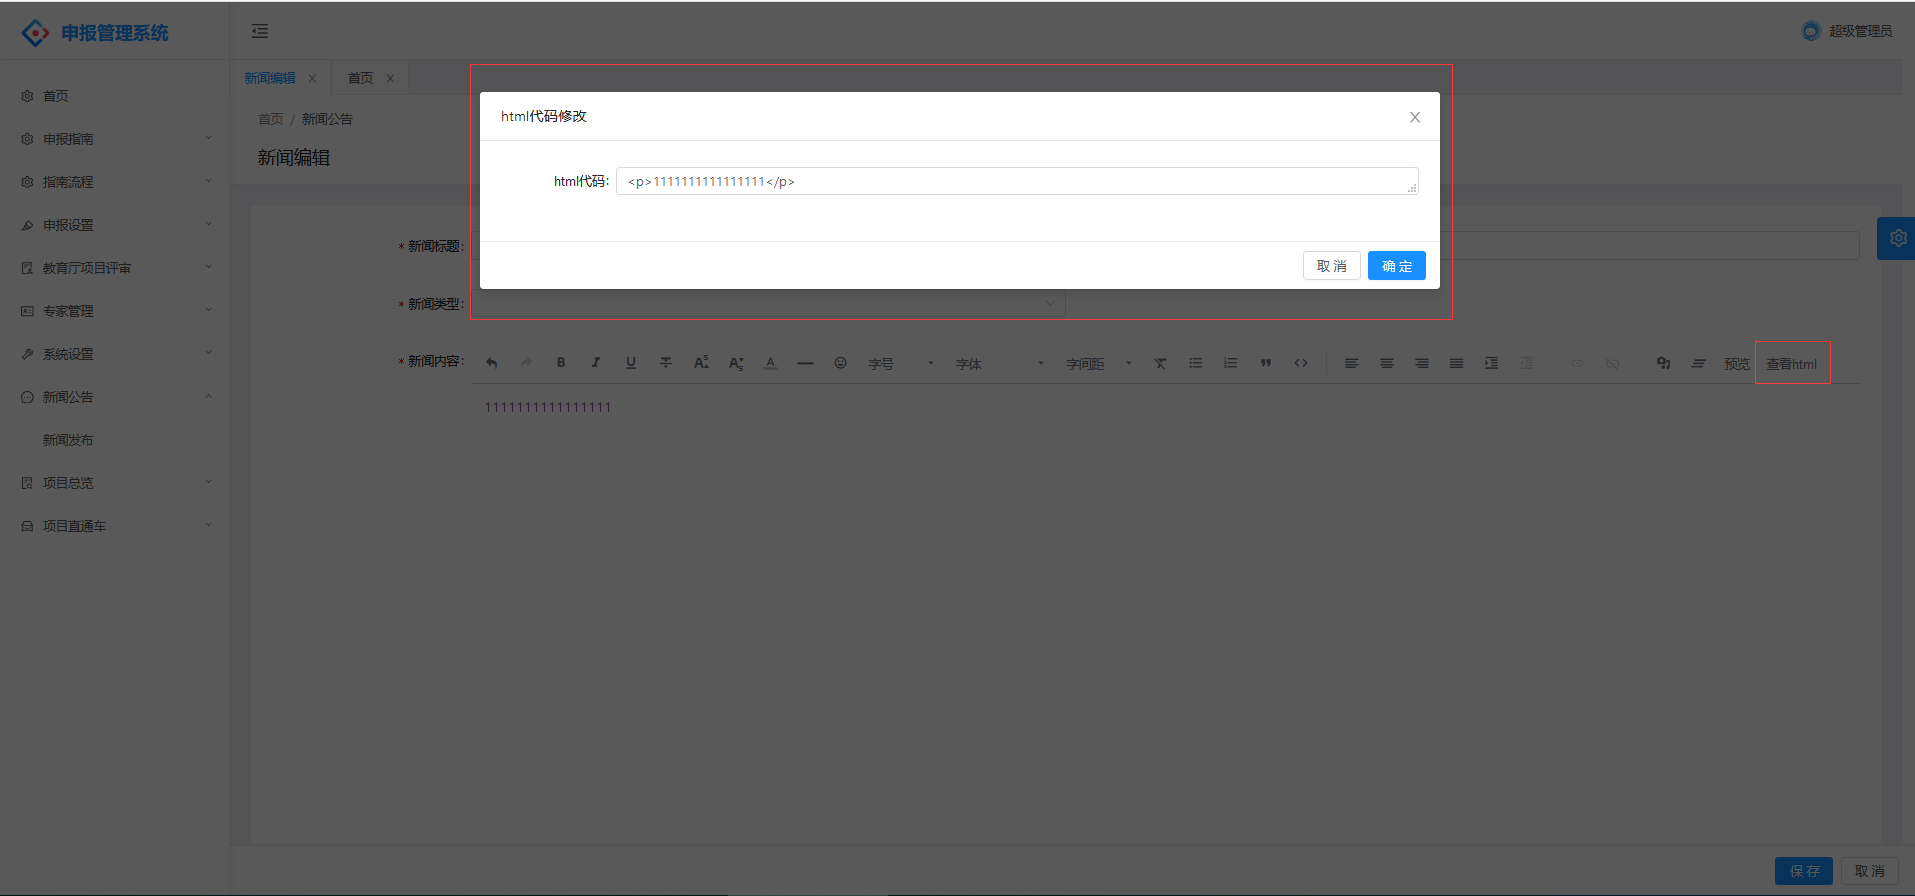
查看html并修改
功能要点
- 使用extendControls属性添加扩展按钮
- 在修改成功后使用form.resetFields('newsContext')来清空指定表单来完成表单刷新功能
创建控件
  render () {
    const extendControls = [
     {
             key: 'code-button',
             type: 'button',
             text: '查看html',
             onClick: this.HTMLCode
      }
    ]

    return (
      <div className="editor-wrapper">
        <BraftEditor
          extendControls={extendControls}
        />
      </div>
    )

  }
点击控件触发函数,获取文本框里的html代码并存在models中
 HTMLCode=()=>{
    const {form,dispatch}=this.props
    form.validateFieldsAndScroll(['newsContext'],(err, values) => {
        const html=values.newsContext.toHTML();
      dispatch({
        type:'newsModel/codeChange',
        payload:{
          html,
          visible: true
        }
      })
    });
  }
antd.modal显示,并获取存在models中的代码
 <Modal
          width='50%'
          visible={visible}
          title='html代码修改'
          okText="确定"
          destroyOnClose
          onCancel={this.onCancel}
          onOk={this.onSave}
        >
          <Form>
            <Row>
              <Col span={24}>
                <FormItem {...entireLine} label="html代码">
                  {
                    getFieldDecorator('html',{
                      initialValue:html||'',
                      rules: [{
                        type: 'string',
                        whitespace:true,
                        message: '请填写描述',
                      }],
                    })
                    (
                    <TextArea placeholder="请输入代码" />
                    )
                  }
                </FormItem>
              </Col>
            </Row>
          </Form>
        </Modal>
修改完成户点击保存
onSave = () => {
    const {form,dispatch,newsModel:{newsDetail}}=this.props
    form.validateFields(['html'],(err, values) => {
      dispatch({
        type: 'newsModel/codeChange',
        payload:{
          ...values,
          visible:false
        }
      })
      if(newsDetail.newsContext){// 修改时有原有数据,所以在原有基础上修改
        newsDetail.newsContext=values.html
        dispatch({
          type: 'newsModel/save',
          payload:{
            ...newsDetail
          }
        })
      }
     form.resetFields('newsContext');
    });
  }
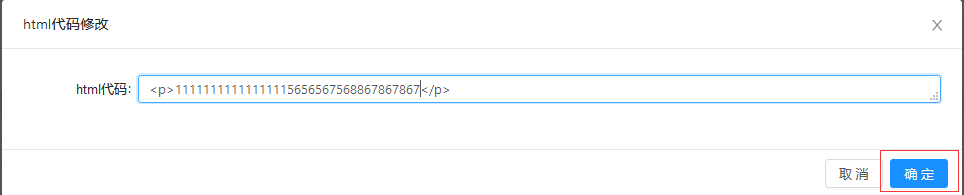
效果